
On the RPi: Enable the VNC Server
Launch Terminal on the Pi and issue this command:
sudo raspi-configNavigate to Interface Options
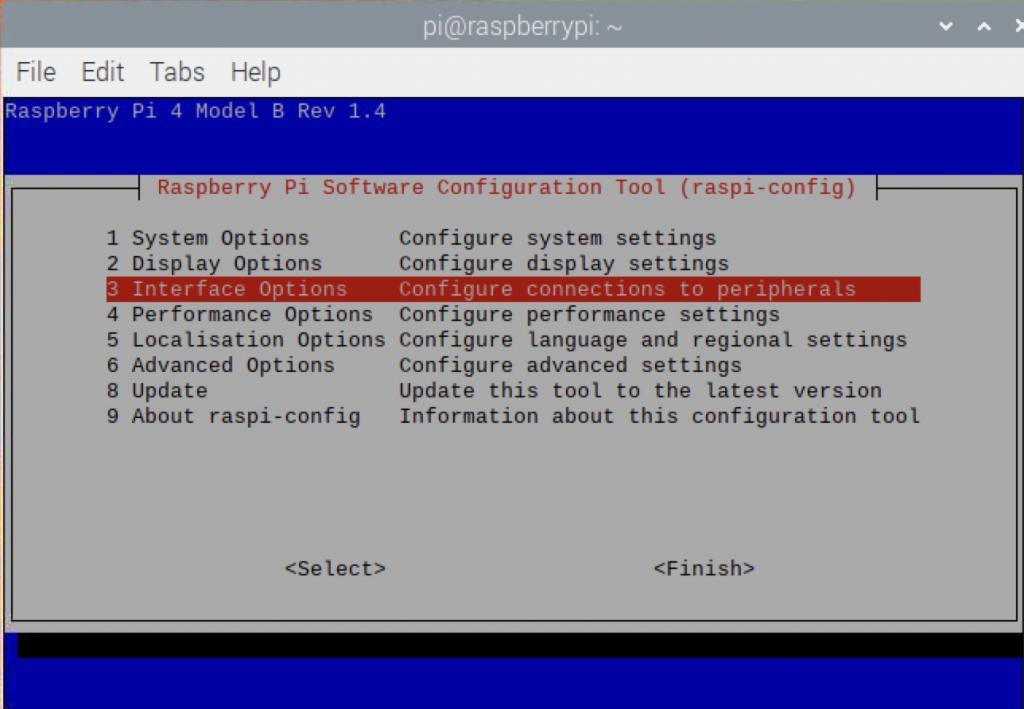
Navigate to VNC Enable/disable graphical remote access using RealVNC
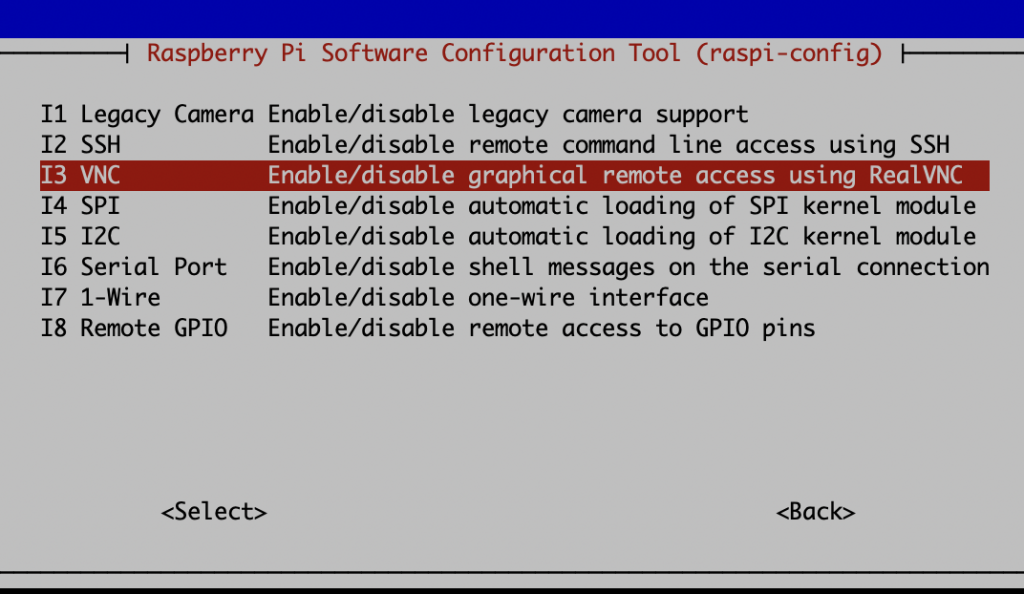
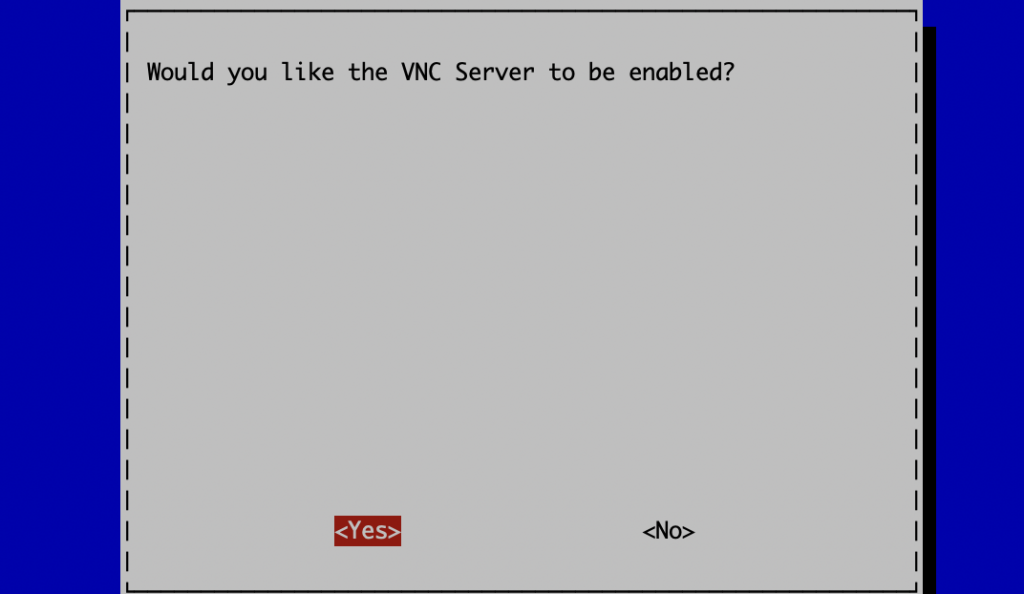
Select VNC > Yes
Navigate to Display Options
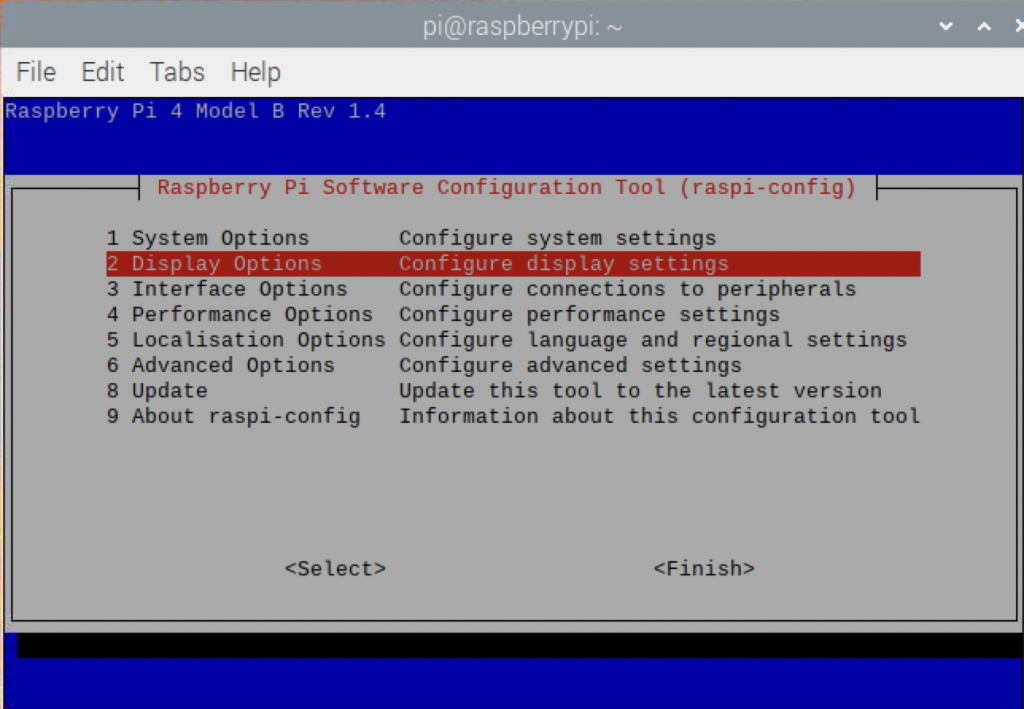
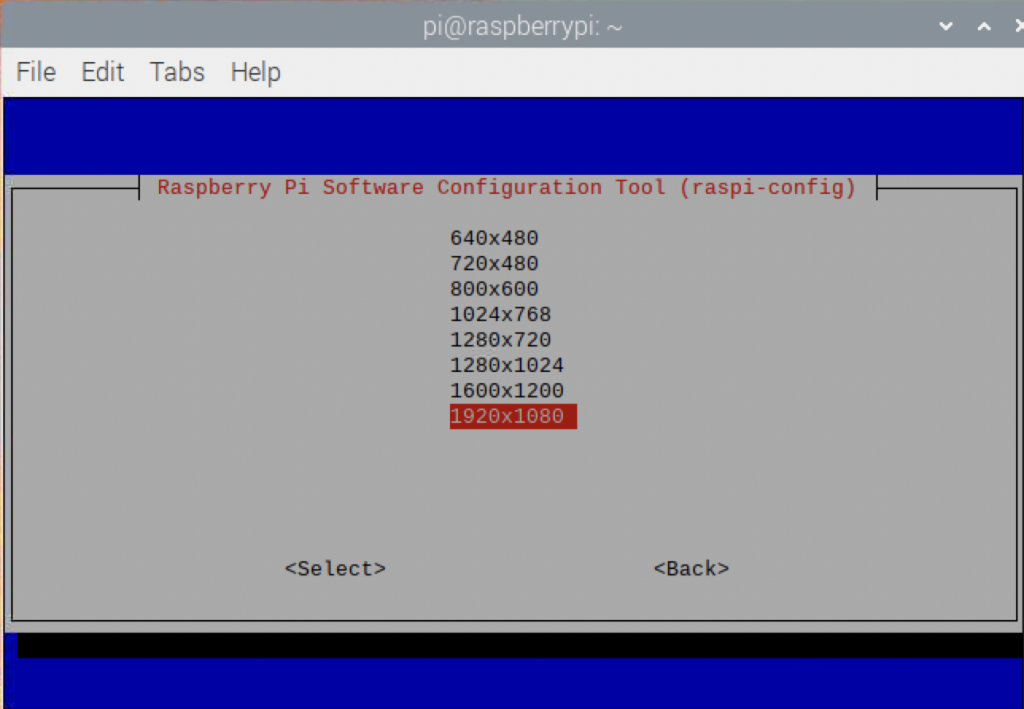
Select VNC Resolution
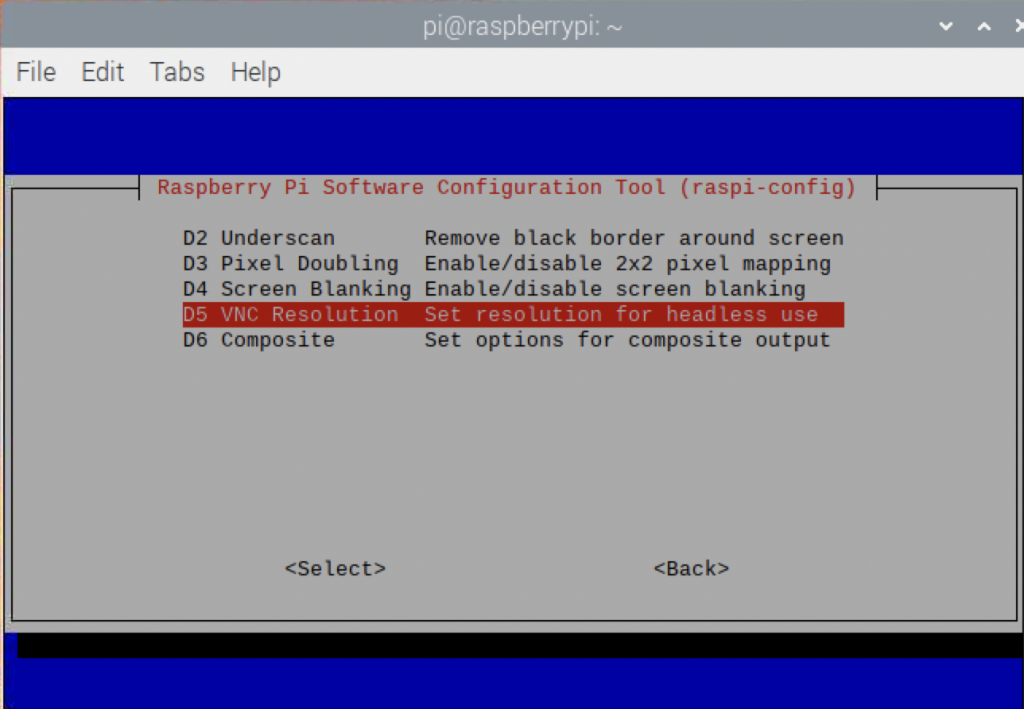
Select a screen size (start with 1920 x 1080 and work down to suit)
Restart the Raspberry Pi.
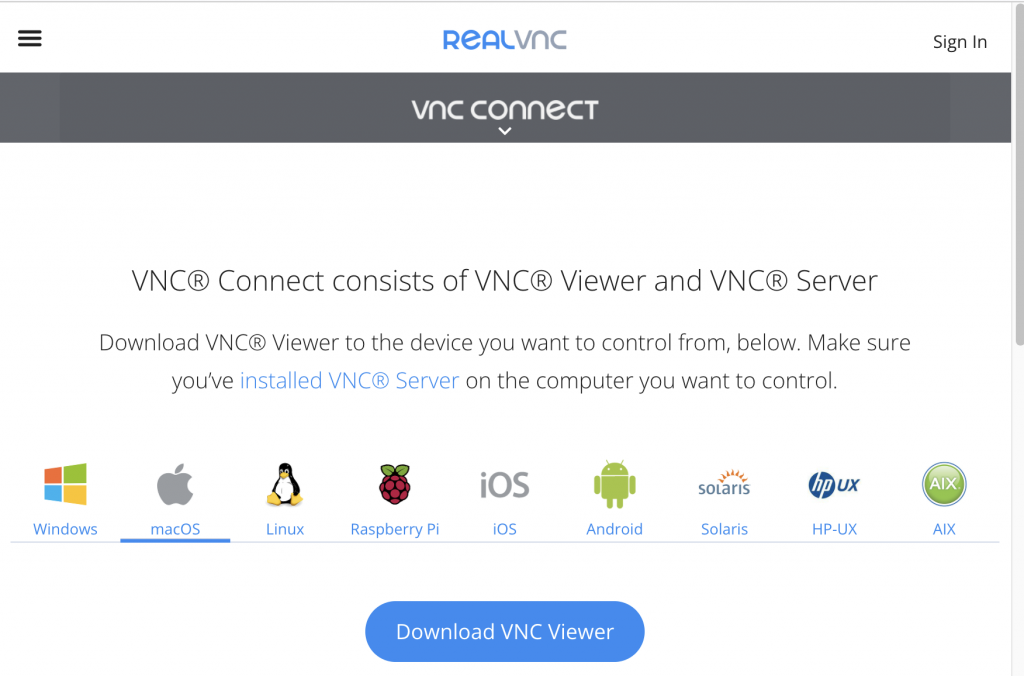
On the remote computer: Install a copy of RealVNC
Get a copy of VNC Viewer software, which is the client that matches the VNC server that’s already running on the Pi. It’s available for Mac, Windows and several others.
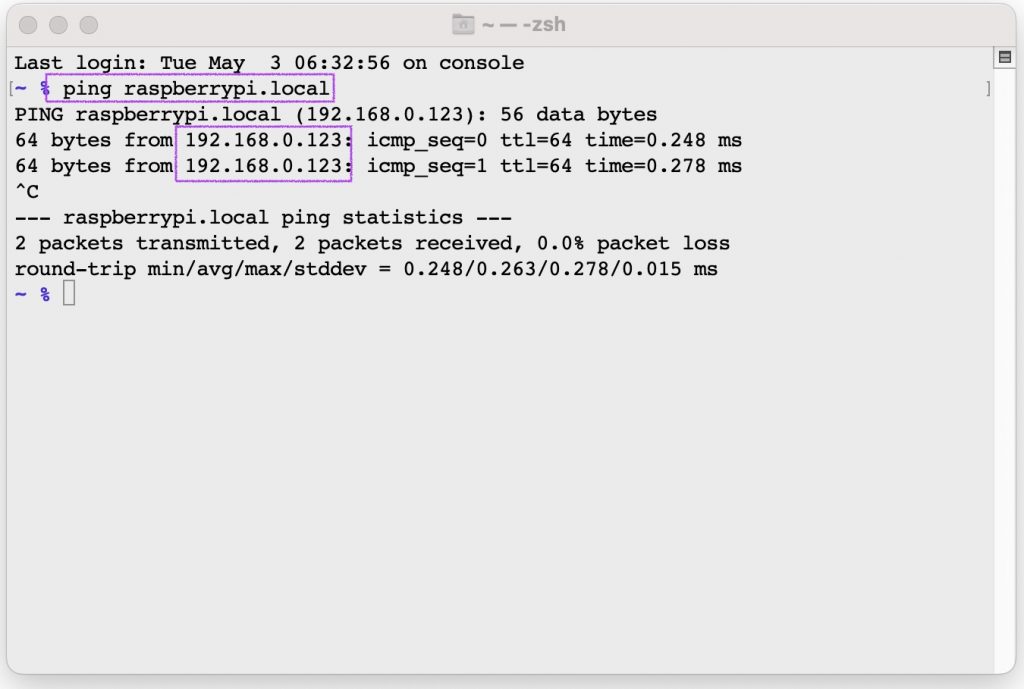
On the remote computer: Figure out what the IP address of the Pi is.
Launch a Terminal session and issue:
ping raspberrypi.local
Look in the responses for the IP address.
On the remote computer: Log into the Pi, using VNC client software
Start the RealVNC client software.
Enter the IP address of the Pi (see above) followed by ‘:5900’ (the port number). In this example, the complete address is:
192.168.0.128:5900
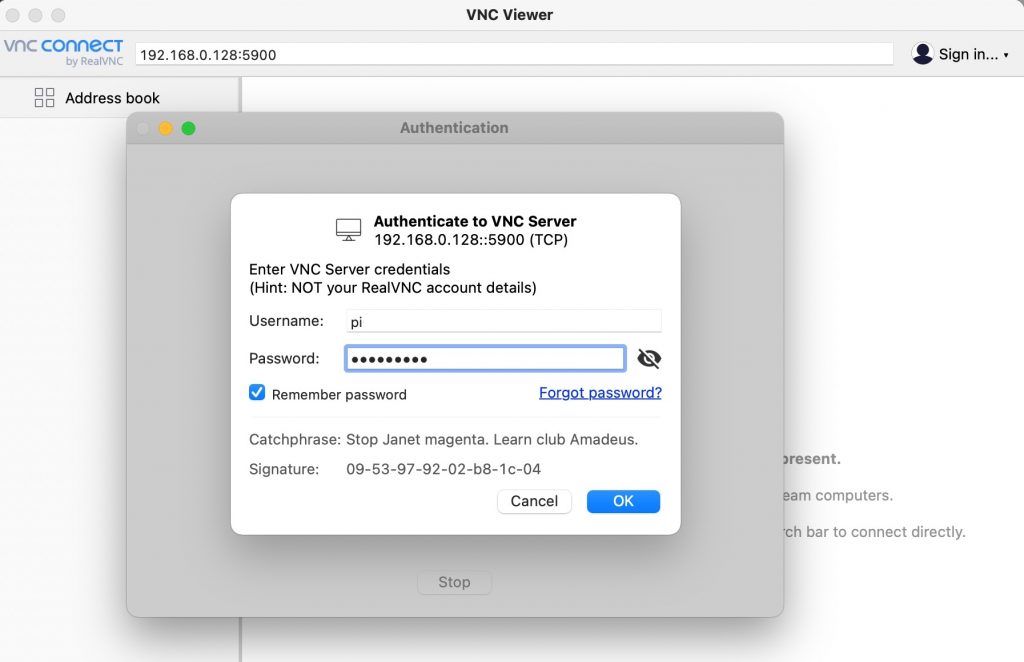
Use the Pi credentials ( username/password ) to log in. Ignore the confusing Hint.
From now on…
That last “log in with RealVNC” step is all that will be required. The RealVNC software will store all the settings for the Pi and offer that as an option to click.